Soil Solarization
Soil solarization is an efficient and practical way of easily controlling soil-borne pathogens and weed seeds. Soil solarization involves putting transparent plastic on the soil surface during a hot time of year for four to six weeks. The solar energy from the sun heats up the soil to a depth of around 12” during this process. Harmful plant pathogens, including bacteria, fungi, and nematodes, are killed during this solarization. Many weed seeds are also harmed during this process, greatly reducing the germination of weeds in the solarized area. Beneficial soil microorganisms readily recolonize an area that has been solarized. Harmful microorganisms, on the other hand, take much longer to return to the solarized soil.
To solarize soil, remove any mulch from the surface and till the soil to a depth of at least 12”. Water the tilled soil well and shape the rows if gardening in that style. Dig a trench about 4” deep around the area to be solarized.
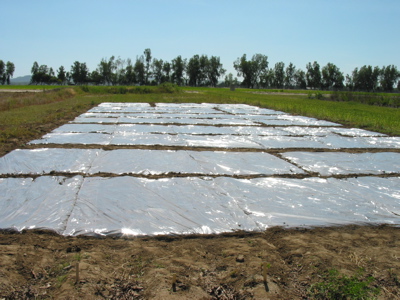
The clear plastic sheeting that is available at hardware stores or almost any big box store works well for soil solarization (two-millimeter plastic is best, but any clear plastic works). On a clear, hot day, place the plastic sheeting over the tilled soil. Place the edges of the plastic in the trench and fill dirt in over the plastic in the trench to hold it down. The bare soil beneath the clear plastic should be visible, and ideally the plastic will be touching the soil.
Leave the plastic on the soil for four to six weeks if solarizing soil during the heat of summer in warmer areas. In cooler climates, or if soil solarization is done in the spring, fall, or winter, leave the plastic in place for about eight weeks. Research shows that these are the optimal times to solarize soil and effectively kill soil pathogens and weed seeds.
Once it’s time to remove the plastic, carefully dig up the edges of the plastic and remove it from the top of the soil. The solarized soil should be only minimally disturbed. When it’s time for seeds or plants to be planted into it, dig only deep enough for planting. Do not till, as this will bring potential plant pathogens and weed seeds from deeper in the soil to the surface, negating the effects of solarization. Otherwise, the soil can be treated as regular garden soil, and plants growing in it can be fertilized, watered, and cared for as needed.
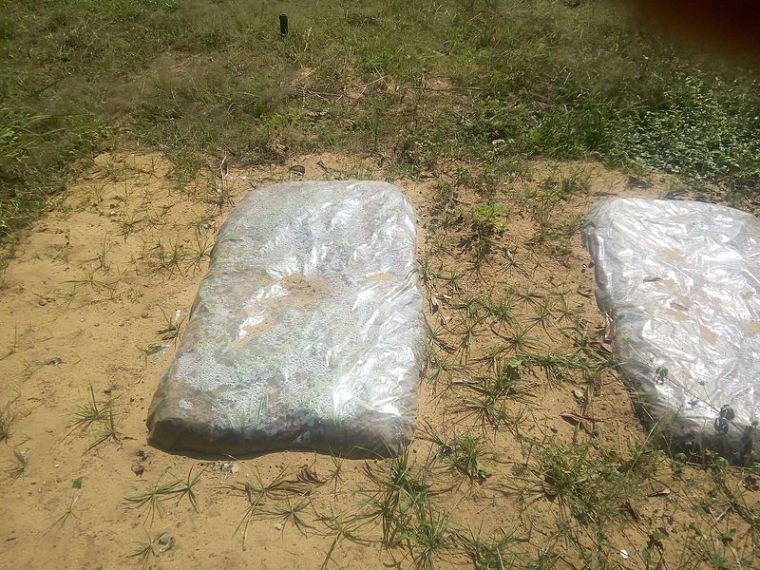
Raised beds and soil for containers can also be solarized using a similar method. The soil for raised beds or containers can be spread out on the ground to a 6–8” thickness and covered in clear plastic as described above. After about four to six weeks, the soil can be removed and placed back into the container or the raised bed.
Soil solarization takes some work up front, but it pays off by almost eliminating soil disease issues and greatly reducing the amount of time and effort needed to weed a garden.